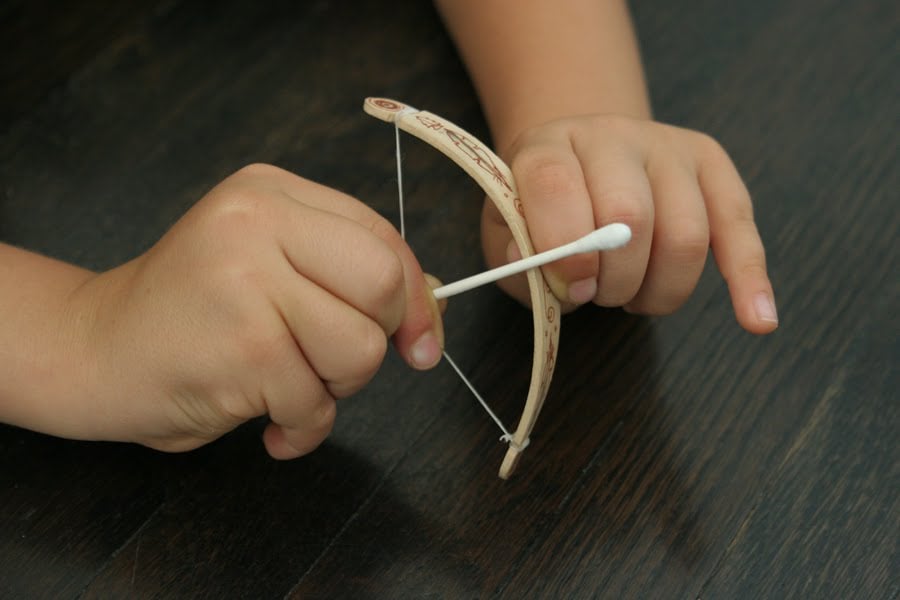
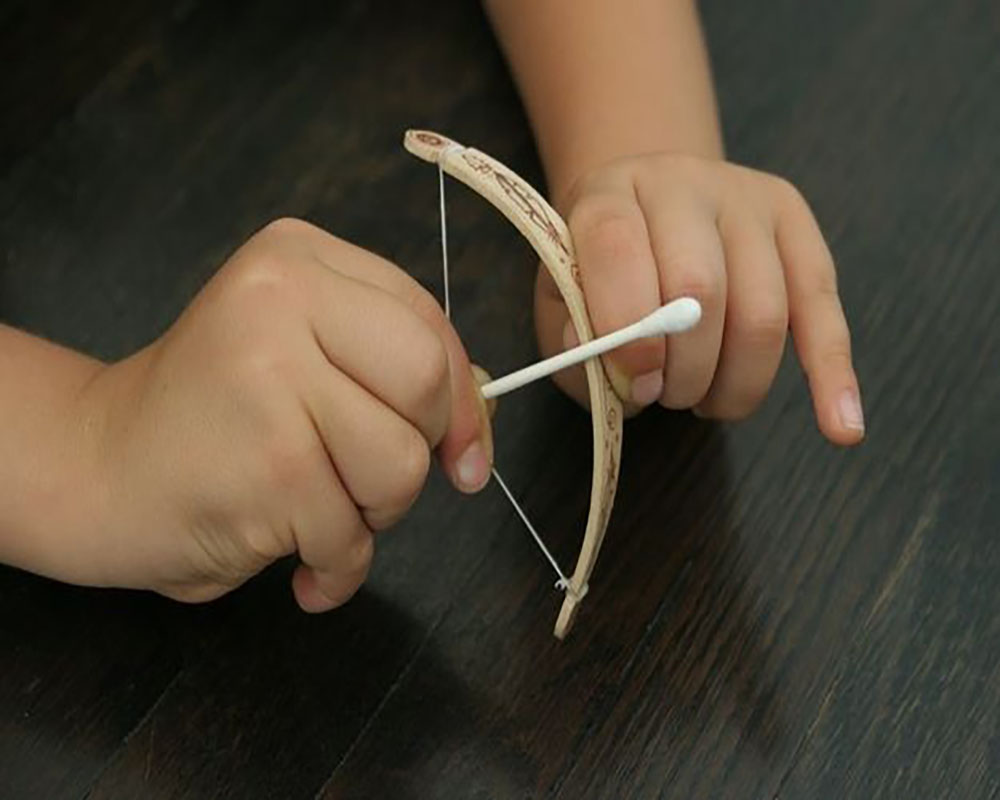
Just like their full-sized counterparts, mini bows can come in a variety of styles and can be made in multiple ways with varied materials. Some tiny bows are made in much the same way as their larger cousins, with the only difference being the amount and/or size of the material used.
Indeed if you do a thorough search online you will find tiny bows in all categories including, modern recurves, compounds, traditional selfbows as well as a plethora of Asiatic composite designs, such as Manchu, Turkish and Scythian, to name but a few.

Out of all the build possibilities out there, one of the simplest mini bow constructions is the popsicle stick bow and arrow. It’s a simple yet fun build that is great for children as an arts and craft project.
Here’s what you’ll need to get started:
- Popsicle sticks, craft sticks, or coffee stirrer sticks (they go by different names)
- Dental floss
- Cotton swabs (Q-Tips)
- Craft knife
- Scissors
- Bowl
- Cutting board
As you can see, the raw ingredients should not be difficult to procure.
Step 1 – Nocks :
We’ll start off by making the nocks on the bow arm ends. Simply and with care, make two small incisions on either side of the popsicle tips with your knife. Adults may perform this simple step for the children.
The cuts are made about 1/2 to 1/4 of an inch from the tip and they should not be very deep, about 1/8 to 1/16 of an inch should be enough. Removing any more material will compromise some of the integrity of the bow tips.
Making two small incisions about 1/16th of an inch apart and then cleaning out the material in between is a tried and tested method that works well.
Step 2 – Bow Forming :
Place the bow-to-be in a bowl of warm water for about an hour. This will make the bow bend easier for its first stringing experience.
Step 3 – The String :
While the bow is soaking in water, we might as well proceed to the next step which is making the string. The first thing you will do is cut a piece of dental floss to about 13 inches.
Then tie a slip knot onto one end. If you have no idea what a slip knot is or how to tie one don’t worry, they are easy. Check out the following links for tying a slip knot, they should be quite helpful.
https://www.animatedknots.com/slip-knot
https://www.101knots.com/slip-knot.html
Next, you will slip the loop of the slip-knotted end of the floss over one end of the mini bow and position it into the nocks. Firmly wrap the floss around the knock 3 times then tie a square knot to secure it in place. Once again, check out these resources for tying a square knot.
https://www.animatedknots.com/square-knot
https://www.netknots.com/rope_knots/square-knot
Next, slowly and gently bend the stick so that you are able to tie the other end of the string to the nocks on the other bow arm. Again, wrap the string around the nocks a few times and secure with another square knot. Allow the bow to dry for a few hours and that’s it! The bow is done!
You may choose to decorate the bow as your heart desires.
Step 4 – The Arrows :
The arrows are easy to prepare. Just cut off the one end of the Q-tips and you should be good to go. You could carefully cut a small nock into the one end of the arrow if you so choose but it is not entirely necessary.
